

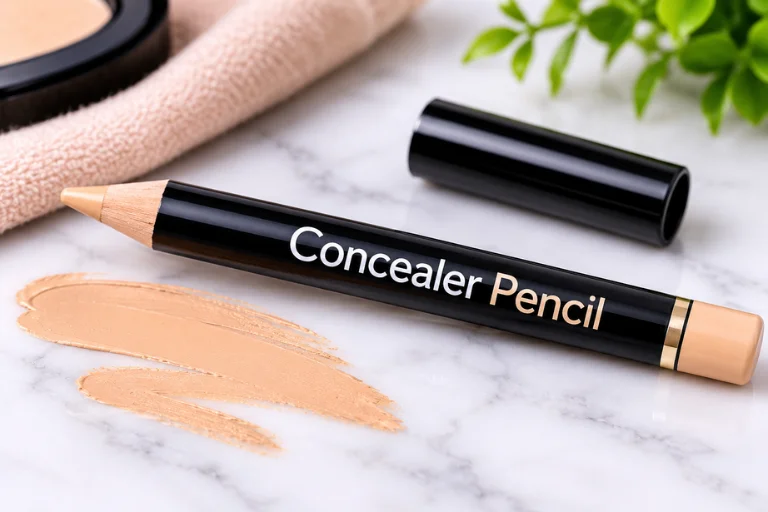
A concealer pencil gives you targeted coverage without masking large areas of healthy-looking skin. Its narrow tip works especially well on blemishes, redness, tiny dark spots, and small areas around the face. The format also makes quick touch-ups easier when you want control instead of broad coverage.
| Key point | What to know |
|---|---|
| Best use | Small blemishes, marks, redness, and precise touch-ups |
| Coverage | Usually medium to high, depending on formula |
| Finish | Matte, natural, or soft-focus |
| Shade choice | Match skin closely for spots |
| Application | Dot or draw lightly, then tap the edges |
| Best tool | Fingertip, tiny brush, or small sponge |
| Main advantage | Precise placement with less unnecessary product |
| Main limitation | Less practical for large under-eye or facial areas |
Direct answer: A pencil-style corrector is best when you need accurate coverage on a small area. Apply a tiny amount directly over the mark, tap the edges without spreading the pigment too far, then set lightly when needed. The result should blend into surrounding skin rather than create a visible patch.
Key Takeaways
* Pick a skin-matching shade for blemishes and isolated dark marks. * Choose a creamy texture if your skin becomes dry or flaky. * Use a fine tip when precise spot correction matters most. * Apply less product first, then build coverage only where needed. * Tap the edges instead of rubbing across the entire covered area. * Set selectively with powder when your skin or formula needs extra hold.
How a Concealer Pencil Works for Precise Coverage
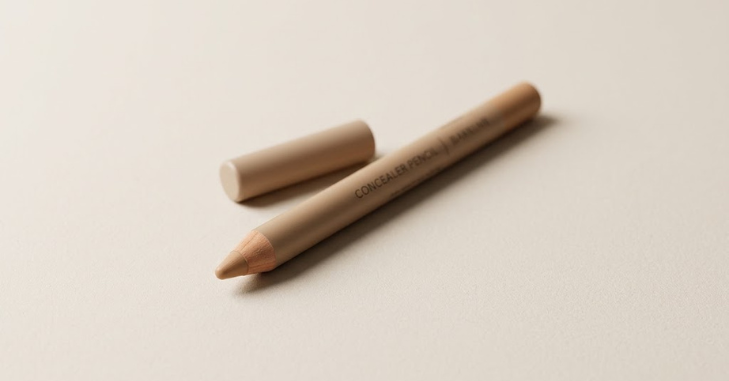
The biggest advantage is control over where pigment goes. Sephora describes pencil and pen formats as useful for smaller areas because accurate placement can reduce excess product. Precise placement also helps surrounding skin retain its natural texture.
Newer concealer pencil products have pushed this idea further with unusually fine tips. Lisa Eldridge’s Pinpoint product uses a 1.5-millimeter tip designed for targeted camouflage and small shadows. That approach suits people who prefer skin to remain visible between corrected areas.
This technique is often called pinpoint concealing or micro-concealing. Instead of creating an even layer everywhere, you cover only what draws your eye. A small brush traditionally achieved this effect, but pencil formats make the method faster.
Pencil vs. Liquid, Cream, and Stick Formulas
Different formats solve different makeup problems, so no single option wins every category. A narrow pencil favors accuracy, while liquids generally spread across larger areas more easily. Creams and sticks usually sit between those two approaches.
| Format | Best for | Precision | Coverage area | Blending needs |
|---|---|---|---|---|
| Pencil | Spots, redness, tiny marks | Excellent | Small | Low to moderate |
| Liquid | Under-eyes, larger discoloration | Moderate | Medium to large | Moderate |
| Cream | Dark spots, scars, targeted coverage | Good | Small to medium | Moderate |
| Stick | Fast coverage and portable touch-ups | Good | Medium | Moderate |
A liquid formula may be easier for broad under-eye brightening. A cream can suit larger dark marks when you need dense pigment. Pencil formats remain strongest when the target is smaller than your fingertip.
For a minimalist routine, precision often matters more than maximum coverage. Covering less skin can preserve freckles, texture, and natural variation. That makes this format useful for everyday makeup that should remain difficult to detect.
How to Choose the Right Shade and Formula
For blemishes and isolated marks, choose a shade that closely matches your surrounding skin. A noticeably lighter shade can brighten the spot instead of hiding it. Clinique similarly recommends matching skin or foundation closely for general correction.
Undertone matters because depth alone doesn’t determine whether a shade disappears. Warm, cool, olive, and neutral undertones can change how natural the result looks. Test the shade on the area you plan to cover whenever possible.
Texture should also match your skin’s condition. Dry areas usually benefit from softer, creamier formulas that move without catching flakes. Oily areas may work better with firmer textures and light setting powder.
Look closely at the tip before buying. A narrow point helps with individual spots, while a thicker crayon covers more space. Retractable designs can also simplify travel because they don’t require a separate sharpener.
If skincare preparation is part of your routine, avoid overworking the area before makeup. Publishie’s guide to skin care tools and routine integration offers additional background on choosing tools carefully. Calm, prepared skin usually gives complexion products a smoother surface.
7 Steps for Natural, Precise Application
1. Prepare the skin. Apply your normal moisturizer and let it settle before adding complexion makeup. 2. Apply foundation first when you use it. This may reduce how much extra coverage you need afterward. 3. Place a tiny amount on the target. Keep pigment mainly inside the visible mark or red area. 4. Tap the edges gently. Use a fingertip, miniature brush, or small sponge without wiping away the center. 5. Check the result from normal distance. Add another thin layer only when the mark still attracts attention. 6. Set selectively. Press a small amount of translucent powder over areas that tend to move or become oily. 7. Leave the surrounding skin alone. Extra blending can spread pigment and defeat the purpose of precise placement.
Clinique notes that fingertips can help product meld into skin while tapping limits unnecessary spreading. Good Housekeeping also recommends pencil or crayon formulas for smaller scars because the point allows controlled placement. These techniques support a lighter, more localized approach.
Where This Format Works Best
Small blemishes are an obvious use because the pencil can cover the center and nearby redness. Dark freckles or isolated pigmentation can also be softened without coating the whole cheek. The goal is visual balance rather than creating completely uniform skin.
Redness around the nose can benefit from the same controlled technique. Use tiny marks of product, then tap only along the edges. Avoid dragging the pigment outward because that can create a larger visible patch.
Some products are marketed for lips, brows, or the eye area too. Only use a cosmetic near the waterline when its manufacturer specifically says that use is appropriate. A face product isn’t automatically tested or labeled for every sensitive area.
A precise base can pair well with more expressive hair or clothing choices. Publishie’s wet-look hair styling guide offers one option for creating a polished, fashion-focused look. Its pixie cut styling guide also covers face-framing styles that emphasize facial features.
Pros and Cons to Consider Before Buying
Pros
* Excellent control on tiny areas. * Portable and easy to carry. * Useful for fast touch-ups. * Less product needed for spot correction. * Can preserve natural-looking skin between corrected areas. * Often simpler than carrying a pot and precision brush.
Cons
* Slow for large areas. * Some formulas may feel dry. * Limited shade ranges can make matching difficult. * Thick tips reduce accuracy. * Firm pencils can catch textured or flaky skin. * Frequent sharpening may waste product.
The strongest reason to buy one is precision. People who mostly cover individual marks may find the format faster than larger applicators. Someone who mainly brightens broad under-eye areas may prefer liquid instead.
Common Mistakes That Make Coverage Look Obvious
Using too much product is the most common problem. A thick layer can create a raised-looking patch around a blemish. Start small because adding pigment is easier than removing an overloaded layer.
Another mistake is blending the center aggressively. That motion removes coverage from the place that needed it. Keep the center mostly intact while softening only the border.
Poor shade matching can also highlight the area. A light spot surrounded by deeper skin may become more noticeable than the original mark. Match depth and undertone closely when your goal is camouflage.
Setting powder can help, but more isn’t always better. Heavy powder may exaggerate dryness or texture around a raised blemish. Press on a small amount only where longevity requires it.
Verdict: Who Should Choose This Makeup Format?
A pencil is a strong choice for people who value accurate spot correction and natural-looking skin. It works particularly well when your concerns are scattered rather than covering a large area. The format also fits small makeup bags and quick daytime touch-ups.
Choose liquid instead when most of your coverage sits beneath the eyes or across broad discoloration. Choose cream when you want dense coverage but still need flexibility over a medium area. Your preferred application style should guide the decision more than product trends.
For U.S. shoppers, the category now includes both traditional complexion products and newer micro-precision designs. Sephora’s current category demonstrates the range of pencil, pen, slim, and stick options sold for targeted coverage. That variety makes tip size, texture, shade selection, and intended use important buying criteria.
A Simple Way to Make Your Base Look More Natural
Precise correction works best when you stop once the distraction disappears. You don’t need identical color and texture across every inch of skin. Small variations often make makeup look more believable.
Choose a shade carefully, use a small amount, and soften the border rather than the center. That approach gives targeted coverage while keeping the rest of your complexion visible. For more beauty and style ideas, browse Publishie’s Fashion section.
Frequently Asked Questions
What is a concealer pencil best for?
A concealer pencil is best for covering small blemishes, redness, tiny dark marks, and other isolated areas. The narrow application point gives you more placement control than many larger applicators. It is less convenient when you need broad coverage across the face.
Should you apply it before or after foundation?
Applying foundation first often means you need less corrective product afterward. Clinique’s guidance also favors applying general coverage before targeted correction in many situations. Color-correcting routines can be an exception, depending on the formula and concern.
Can you use a pencil under your eyes?
You can use one under the eyes if the texture feels comfortable and the product is intended there. Fine-tip formulas may work well for tiny shadows near the inner eye. A broader liquid formula can be faster when the whole under-eye area needs coverage.
How do you keep spot coverage from looking cakey?
Use thin layers and blend only the outer edge of the covered area. Avoid repeatedly adding product after the mark has visually disappeared. Light powder can improve wear, but excessive powder may emphasize texture.
Is pencil or liquid better for blemishes?
A pencil usually offers more control for one small blemish. Liquid may be easier when redness extends across a larger area. Your skin texture and the product’s pigment level also affect the result.