
What Is a Door Hinge Jig?
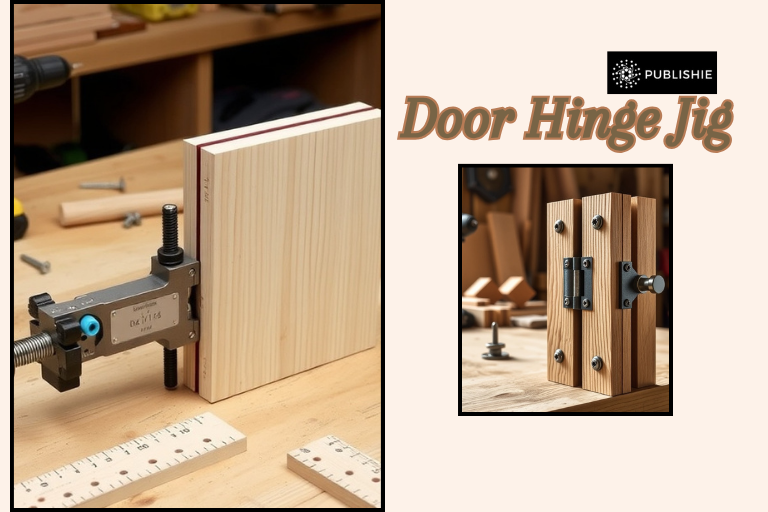
A door hinge jig is a specialized template or guide that allows woodworkers to cut hinge mortises accurately. Most jigs are adjustable and designed to work with both handheld routers and chisels. They come in plastic, aluminum, or steel varieties. These are suitable for use on cabinet doors, internal room entries, and various commercial applications.
Key features of a quality door hinge jig include:
- Adjustable hinge spacing
- Compatibility with various hinge sizes (3”, 3.5”, 4”)
- Centering guides for precision alignment
- Anti-slip grips or clamps for stability
By fixing the jig onto the door edge and aligning it with your hinge position, you’re ensured a perfectly sized and positioned mortise every time.
Step-by-Step Process for Precise Hinge Placement
| Category & Description | Details |
|---|---|
| 1. Step-by-Step Process Table | |
| Step 1: Prepare door and frame | Tools: Measuring tape, pencil Tips: Check door thickness |
| Step 2: Mark hinge locations | Tools: Door hinge jig Tips: Use level for accuracy |
| Step 3: Set up jig | Tools: Clamps, router bit Tips: Secure jig firmly |
| Step 4: Choose router bit | Tools: Router bit Tips: Ensure correct hinge size |
| Step 5: Set router depth | Tools: Router Tips: Test depth on scrap wood |
| Step 6: Route the mortise | Tools: Router, jig Tips: Move carefully, steady hand |
| Step 7: Test hinge fit | Tools: Hinges Tips: Adjust mortise if needed |
| Step 8: Install hinges | Tools: Screwdriver, screws Tips: Screw firmly but do not strip |
| Step 9: Final fitting and alignment | Tools: Hinges, screwdriver Tips: Open and close door to check |
| 2. Comparison Table of Jig Types | |
| Door Hinge Jig | Best For: Standard hinges Price Range: $20-$50 Pros: Easy, precise, DIY-friendly Cons: Limited to specific hinge sizes |
| Router Jig | Best For: Complex mortising Price Range: $50-$100 Pros: Highly accurate, versatile Cons: Requires router experience |
| Concealed Hinge Jig | Best For: Cabinet hinges Price Range: $30-$70 Pros: Clean hinge mortises Cons: Less useful for standard doors |
| 3. Troubleshooting and Solutions Table | |
| Misaligned hinges | Cause: Incorrect jig placement Solution: Re-measure and reposition jig |
| Uneven hinge mortise | Cause: Router depth too deep Solution: Reset router depth, test cut |
| Jig slips during routing | Cause: Insufficient clamping Solution: Use stronger clamps, recheck setup |
| Door Hinge Jig | Purpose: Guides hinge placement Recommended Brands: Wolfe Tools, Milescraft |
| Router | Purpose: Cuts hinge mortise Recommended Brands: Bosch, DeWalt |
| Clamps | Purpose: Secures jig to door/frame Recommended Brands: Irwin, Bessey |
| Measuring Tape | Purpose: Measures hinge location Recommended Brands: Stanley, Komelon |
Understanding the Importance of Accurate Hinge Placement
Precision is everything in woodworking, especially when it comes to installing door hinges. Misaligned hinges can cause uneven door swings, unnecessary strain on hardware, and an unprofessional appearance. That’s where tools like a door hinge jig and a router jig become invaluable. They not only streamline the installation process but also deliver factory-grade accuracy with minimal effort.
Whether you’re installing a traditional butt hinge, a European-style concealed hinge, or cabinet hinges, a jig ensures your hinge mortises are consistent and clean. These tools also eliminate guesswork, helping both beginners and professionals maintain uniformity across multiple doors or frames.
Router Jigs: Power and Precision Combined
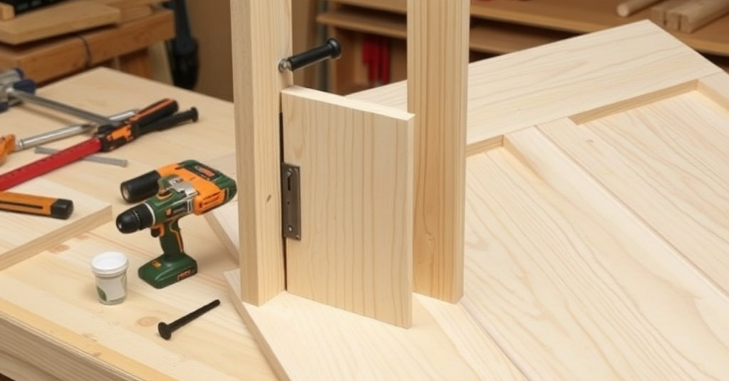
While a door hinge jig serves as a physical template, a router jig elevates hinge cutting to a new level. When used with a plunge router or trim router, the jig helps guide the cutting tool for clean, even-depth mortises. This is especially useful when working with hardwoods like oak or maple, where hand chiseling could risk splintering.
Router jigs typically include:
- Bushing guides or guide bushings
- Depth stops control the cutting depth.
- Templates for different hinge styles
- Compatibility with both standard and compact routers
Using a router with a hinge jig speeds up the process, especially when you’re installing multiple doors. It also ensures the edges of the mortise are crisp and uniform, saving finishing time.
Step-by-Step Guide: Using a Router with a Door Hinge Jig
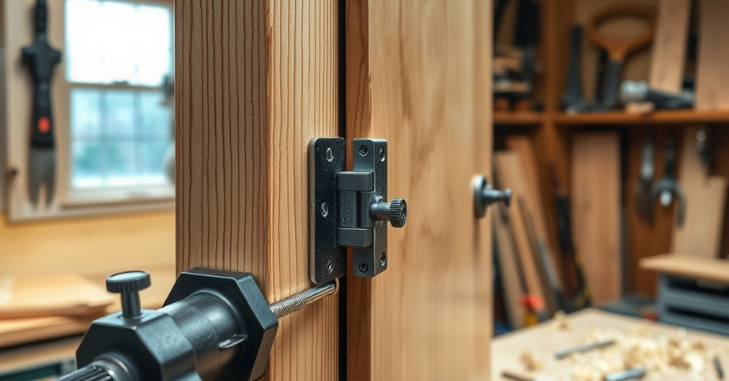
- Mark the Hinge Placement
Begin by determining the precise positions of the upper and lower hinges on the door. Standard doors often place hinges 5 inches from the top and 10 inches from the bottom.
- Attach the Door Hinge Jig
Position the jig so the template aligns with your markings. Clamp the jig securely to prevent movement during routing.
- Set Up the Router
Fit your router with a straight or mortising bit, then set the cutting depth to align precisely with the hinge leaf’s thickness.
Most hinges require a 1/8” deep mortise.
- Route the Mortise
Guide the router smoothly within the template, maintaining a steady pace and moving clockwise to make the interior cuts accurately. Let the router do the work, don’t force it.
- Check Fit and Repeat
Remove the jig and test the hinge fit. This process takes under 5 minutes per hinge and eliminates costly alignment issues or door sagging later on.
Types of Hinges and Their Jig Requirements
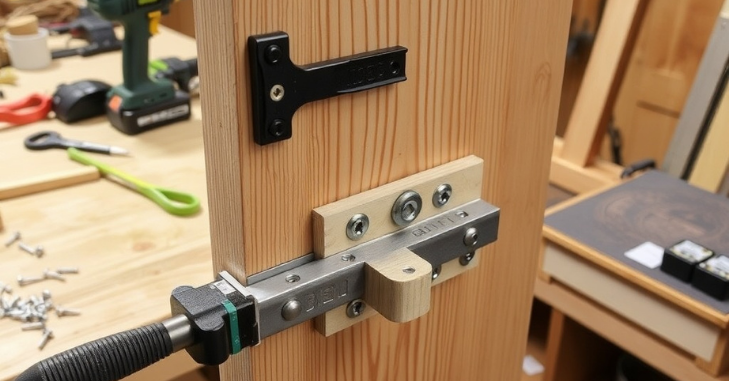
Different hinges require different jig setups. Here’s a quick breakdown:
- Butt Hinges (Standard Door Hinges): Require rectangular mortises that a door hinge jig handles easily with a router.
- Concealed Hinges (European Style): Installing these typically involves drilling round openings and using purpose-built jigs designed for hidden hinges, particularly when working with cabinetry.
- Cabinet Hinges: Cabinet hinge jigs offer pre-set guides for hinge cups and screw holes, ensuring perfect alignment even for face-frame and frameless cabinets.
Top Benefits of Using a Door Hinge Jig
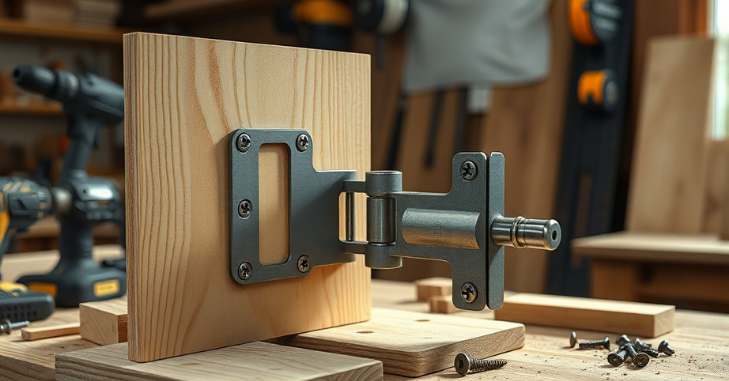
- Accuracy and Consistency: Whether you’re doing one door or a dozen, jigs eliminate the inconsistencies that come from freehand routing or chiseling.
- Saves Time and Effort: A hinge jig reduces your workload and minimizes errors, translating to fewer reworks and faster installations.
- Professional Finish: Clean mortises lead to flush hinges and smooth door operation, which improves the overall look and feel of your woodworking project.
- Adaptable for Different Projects: From room doors to custom cabinetry, these jigs offer adjustable templates for different sizes, making them versatile for all levels of work.
Common Mistakes to Avoid During Installation
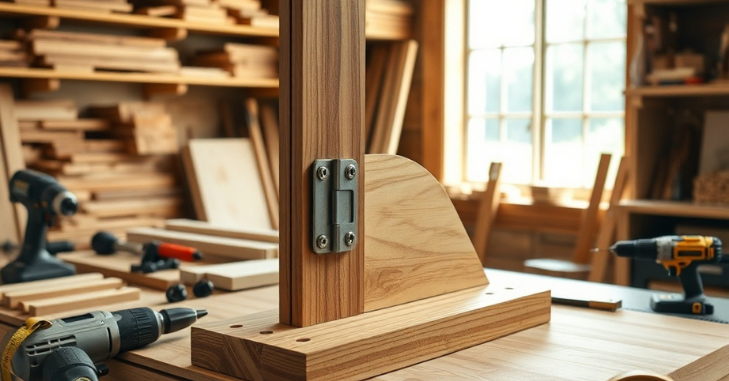
- Wrong Router Bit Depth: Setting the bit too deep can cause loose hinge fitment, while too shallow a setting won’t allow the hinge to sit flush.
- Misaligned Jig Positioning: Failing to align the jig with your pencil marks can throw off the entire door operation.
- Rushing the Routing Process: Sudden or erratic router movements may result in irregular or rough cutting edges.
- Skipping the Test Fit: Before drilling pilot holes or screwing in the hinges, always test the mortise fit. Minor adjustments now prevent major problems later.
Recommended Tools for a Clean Installation
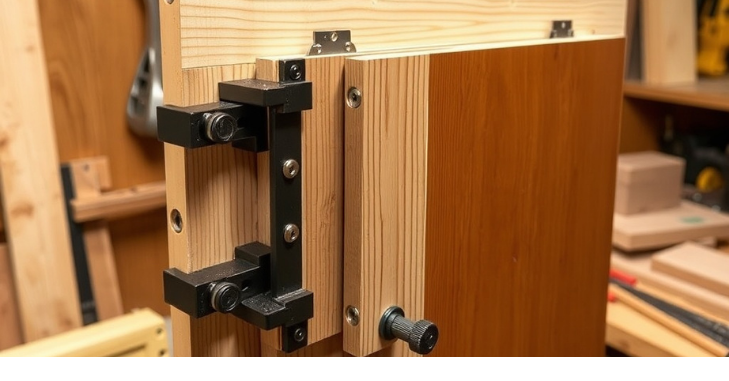
To make the most of your door hinge jig and router jig setup, keep the following tools handy:
- Plunge or Trim Router with variable speed
- Straight Router Bit (1/2″ or 3/8″ size)
- Measuring Tape and Combination Square
- Pencil or Marking Knife
- Clamps for holding the jig securely
- Screw Gun or drill with a countersink bit.
- Chisel and Mallet (for minor adjustments)
These tools complement your jig system and help you tackle any hinge installation with ease.
When to Upgrade to a Professional Jig System?
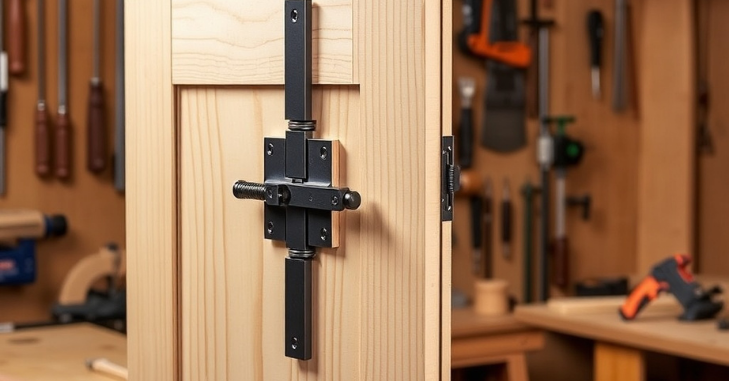
For homeowners and occasional DIYers, a basic door hinge jig might be enough. However, if you’re a contractor or a serious hobbyist working on multiple doors or cabinetry projects, investing in a professional-grade jig with adjustable templates, an aluminum body, and built-in depth control is worth it.
Look for:
- Multi-door alignment features
- Support for concealed and butt hinges
- Detachable guides for door jambs
- Brand reliability (e.g., Milescraft, Kreg, Trend)
High-end jigs provide repeatable accuracy and can pay for themselves quickly in saved labor time and increased project quality.
Conclusion
Mastering hinge placement doesn’t have to be intimidating, especially when you have the right tools at your side. A quality door hinge jig paired with a reliable router jig takes the guesswork out of woodworking, delivering clean, consistent, and professional-looking results every time. Whether you’re working on a home renovation, cabinet upgrade, or a full-scale carpentry project, these jigs offer the precision and efficiency needed to streamline your workflow.
Apart from that, if you want to know more about Comprehensive Step-by-Step Guide on How to paint a garage Door for a Professional, Smooth, and Long-Lasting Finish then visit our Home Improvement category.
Frequently Asked Questions (FAQs)
Yes, but it’s less accurate and more time-consuming. A jig ensures precise cuts and consistent results, especially useful for beginners or repeat installations.
A straight bit or a mortising bit (usually 1/2” or 3/8”) is ideal for clean, shallow cuts required for hinge mortises.
Some jigs are designed for both cabinet and standard doors. Others are specific to concealed or cup-style hinges used in cabinetry.