


Introduction
Proper window flashing installation is essential during building or remodeling, but it’s frequently neglected. Flashing is a thin waterproof layer that blocks water infiltration at joints, preventing structural damage. Whether you’re a contractor or a DIY enthusiast, understanding this process is key to prolonging the lifespan of your windows and keeping your home dry and secure in all seasons.
When installed properly, window flashing serves as a barrier against moisture, air leaks, and mold. It not only increases durability but also boosts energy efficiency and reduces maintenance expenses over time. Although the tools and methods differ — from peel-and-stick membranes to metal drip caps — their purpose is consistent: to seal all potential entry points for water.
| Category | Details |
| Purpose | Waterproofing |
| Material | Flashing tape |
| Tools | Utility knife |
| Surface | Sheathing |
| Type | Self-adhered |
| Layers | Overlapping |
| Sequence | Bottom-first |
| Product | Butyl flashing |
| Prep | Surface clean |
| Barrier | Water-resistive |
| Check | Level window |
| Overlap | 6 inches |
| Corner | Pre-folded |
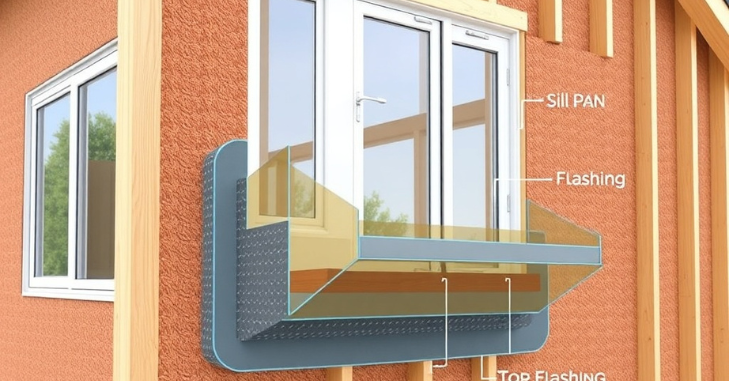
| Backdam | Sill pan |
| Fasten | Non-penetrating |
| Window flashing installation | Critical step |
Window Flashing Installation: Step-by-Step Protection
To begin any windoWhen installing flashing, it’s crucial to prepare the rough opening properly. Make sure the area is clean, dry, and level, as flashing won’t stick to dirt, sawdust, or moisture. Skilled installers typically begin at the bottom or sill, applying a self-adhesive membrane that extends several inches beyond the sides of the window frame. This step creates a seamless waterproof barrier before the window is installed.
Once the sill flashing is installed and securely pressed into position, the sides—known as jamb flashing—are then added. These should overlap the sill flashing to guide any water flowing downward away from the window. Next, the top or head flashing is installed. In most climates, a metal drip cap is recommended above this layer. The window is then firmly mounted, and any gaps are sealed with expanding foam or caulk, depending on the material used. Properly installing window flashing ensures all parts work together effectively, like roofing shingles, to direct water away from the structure rather than trapping it inside.
Importance of Water Diversion in Window Flashing Installation
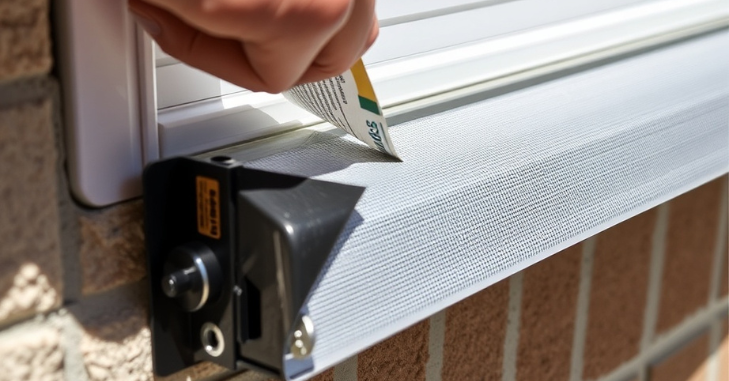
Whenever it rains, your windows face a barrage of moisture and wind. Without correct window flashing installation, the frame is at risk of water infiltration, leading to rot, mold, or insulation damage. Flashing works by diverting water, preventing these issues. It’s more than just tape applied to edges — it’s a carefully planned method to guide water away from critical parts of the building.
A poorly executed job can cause disaster. Water infiltrating wall cavities might go unnoticed until substantial damage occurs. Therefore, proper window flashing installation requires careful attention to sequence, overlap, and adhesion. Using only caulk or foam is a frequent DIY error; flashing is essential—it’s a form of structural insurance.
Materials Needed for a Clean Flashing Job
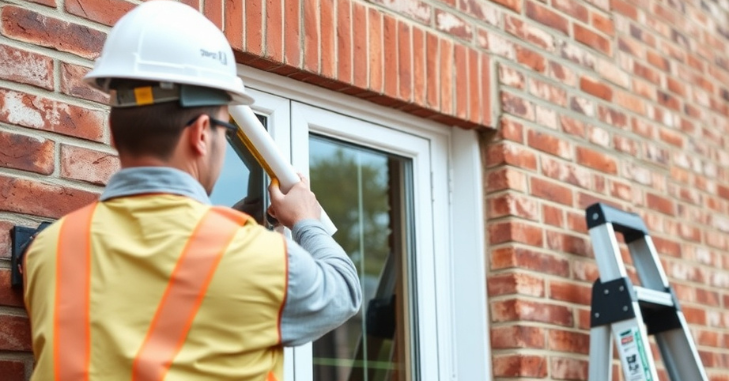
- Flashing tape made from butyl or asphalt-based materials.
- Utility knife or scissors.
- J-roller used for pressing tape down.
- Sill pan or corner guards
- Level and measuring tape
- Weather-resistant barrier (WRB)
- Primer (optional for applying on cold surfaces)
The Role of Building Codes
Modern codes frequently require window flashing installed for energy efficiency and waterproofing. Omitting this step can result in code violations and penalties during future renovations. Always verify local standards.
Common Mistakes to Avoid
- Neglecting to clean the sheathing prior to taping.
- The tapes are misaligned, leading to overlap problems.
- Beginning from the top rather than the bottom.
- Omitting the sill pan or corners
- Applying staples or nails to self-adhesive tape
Understanding Flashing Sequence Like a Pro
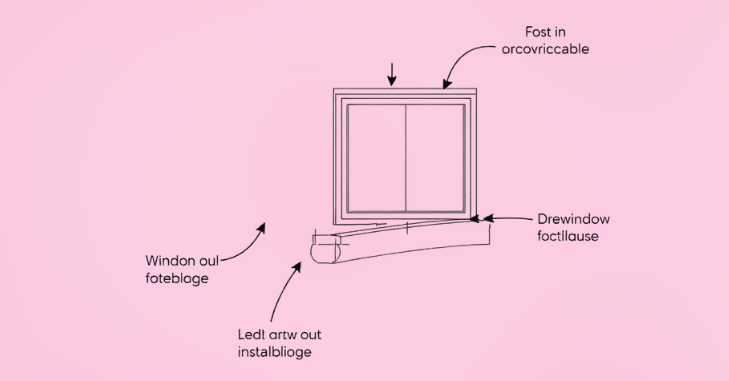
Sequence is crucial in this process. Always begin at the bottom (sill), move to the sides (jambs), and finish at the top (head). Each layer should overlap the previous one, forming a “shingle effect.”
DIY and Professional Installation
- DIY: More affordable, adaptable timetable, and educational journey.
- Pro: Quicker, code-compliant, professional-quality finish
- Tip: In high-humidity areas, consider hiring a professional.
Consider Your Climate Conditions
If your home is located in an area prone to heavy rainfall, hurricanes, or snow, opt for premium flashing materials and consider installing a drip cap or double barrier. Flashing solutions are not one-size-fits-all.
Flashing Tape vs. Metal Flashing
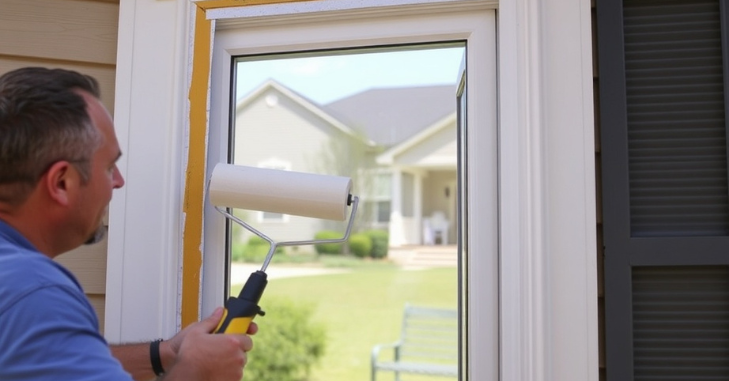
- Tape: Flexible, quick to install, and self-adhesive.
- Metal is durable but requires bending tools and is more suitable for the head.
- Optimal approach: Combine both in a hybrid system for the highest level of protection.
Durability and Long-Term Benefits
Once installed, a well-designed flashing system can last for decades. It reduces the risk of water damage, improves insulation, and extends the lifespan of both the windows and the home structure.
Weatherproofing Beyond Flashing
While window flashing provides essential protection, combining it with a durable weather-resistant barrier (WRB), appropriate insulation, and well-designed drainage enhances moisture defense. Additionally, gutters, downspouts, and correct siding overlaps offer extra protection for vulnerable window regions, particularly in areas with heavy rainfall.
Check Before You Seal
- Check the level carefully.
- Make sure the tape is pressed firmly.
- No air bubbles.
- Apply overlap tape where necessary.
- Avoid covering weep holes or drainage paths.
Conclusion
Each home represents a long-term investment, and installing window flashing is vital for protecting it. It directs water away from openings and guides it to safe exits, reducing the risks of rot, mildew, or insulation issues. Flashing isn’t merely an accessory; it’s an essential component of a building that works silently behind the scenes.
The process, from selecting materials to sequencing, may appear simple but requires precision. Skipping or poorly executing this step can result in costly repairs later. Whether you’re installing new windows or replacing old ones, ensure that window flashing is installed correctly the first time.
Apart from that, if you want to know more about 1970s Interior Design: An Ultimate Guide to Its Historical Context, Key Elements, Accessories and Decor Items, and More Info then visit our Home Improvement category.
FAQs
Flashing should be installed during new window installation or major exterior remodeling.
Yes, competent do-it-yourselfers can handle it with the correct equipment and procedures.
Butyl flashing tape and metal drip caps are commonly recommended.
Depending on the climate and the quality of the installation, high-quality flashing can last for 20 to 30 years or longer.